
Restorative Yoga Poses
Restorative Yoga is an antidote to the harm caused by stress
With work deadlines, family duties and everything else going on in the world, people are feeling more stressed out than ever. That’s where restorative yoga comes in to help! You won’t find any downward facing dog, chaturanga or warrior II poses. Instead, the focus of restorative yoga is on stillness and relaxation. The use of props such as bolsters, blocks and straps, aids in that feeling—so you can work on being calm and clearing your mind and less about worrying about how to do a Sirsasana pose (headstand).
Restorative yoga is suitable for beginners and practitioners of all levels. By definition, restorative yoga is a restful practice that holds yoga poses (asanas) for a longer duration using props like yoga blocks, mat, straps, and bolsters. It is a practice of deep relaxation that emphasises the meditative aspect of yoga—the union of body and mind. Through the use of props for support, the postures are held almost effortlessly. When the body enters a state of relaxation the mind can also consciously relax as tension is released from both body and mind. The only work that’s required on your part during a restorative yoga practice is to pay attention to your breath and become aware of any sensations or thoughts that may arise.
________________
Feeling like you need to recentre?
Give these poses below a go!
________________

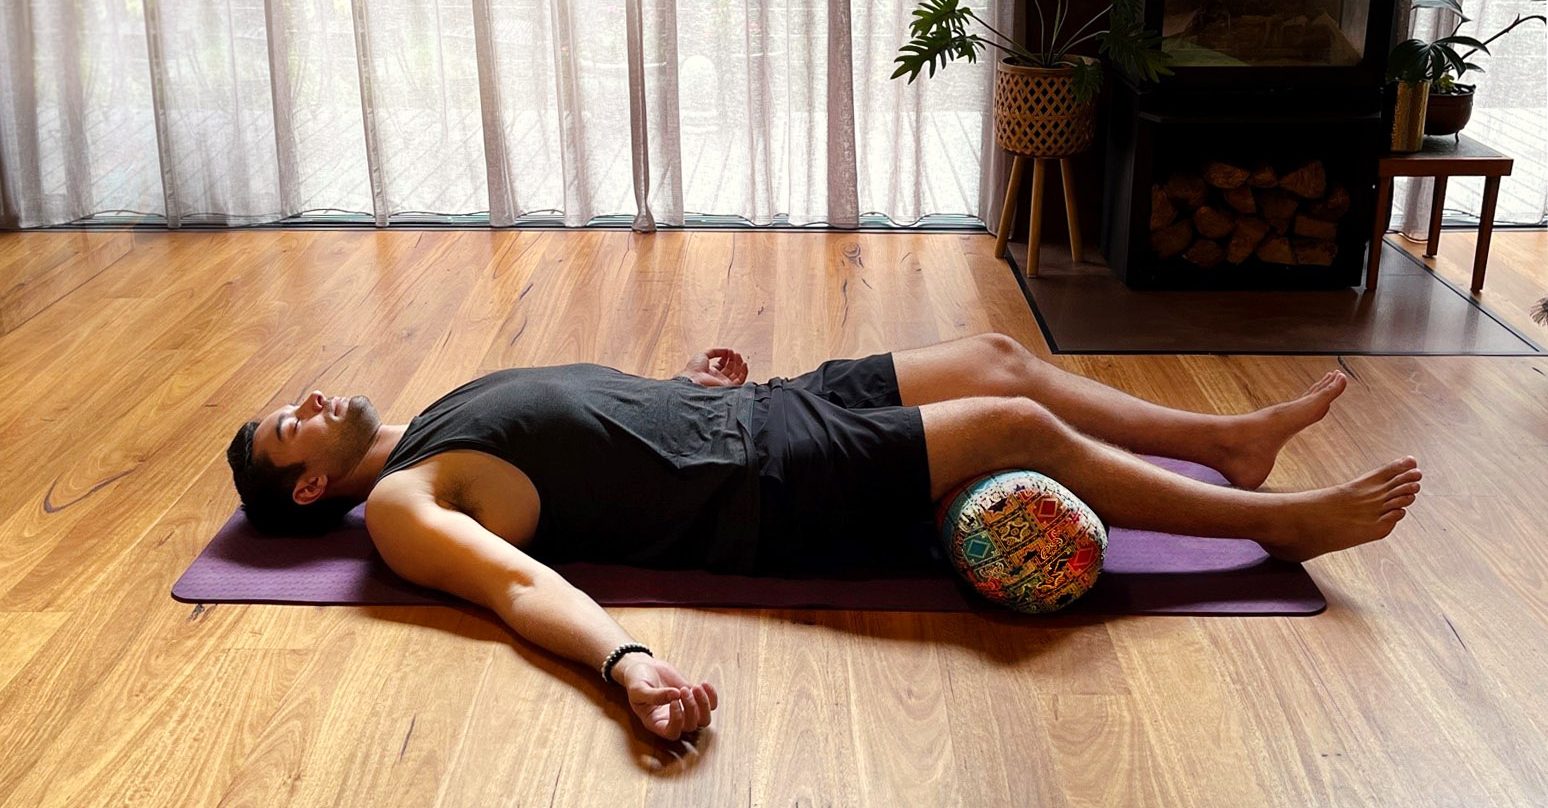
Step 1
Place a bolster under your knees while lying in Shavasana. It helps to release your back and feels very relaxing.
Step 2
To help your neck feel more supported and make this pose even more comfortable place a blanket under your head.
*Optional: Lay under a blanket, it can help keep the body warm but also feels very grounding.

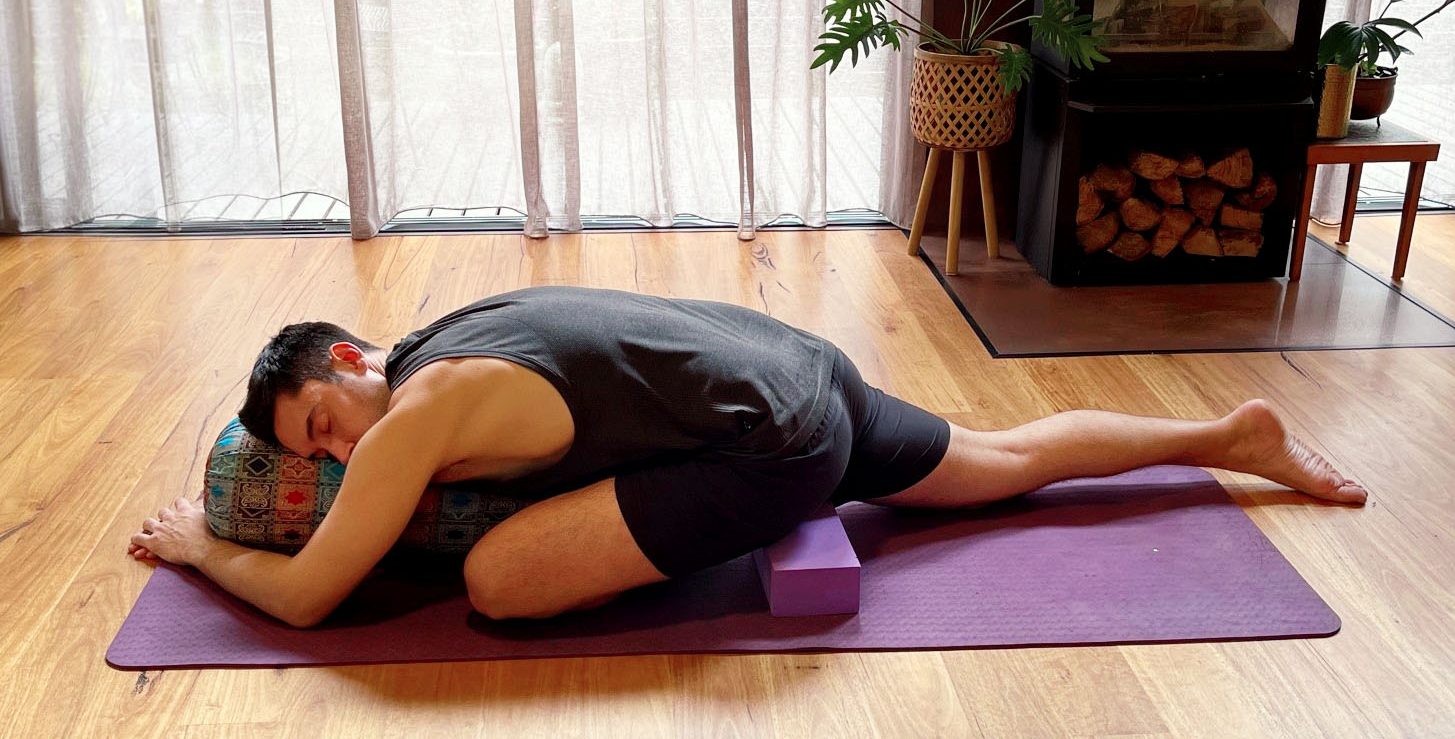
Step 1
Support the front of your pelvis using a block or a bolster. Place your left hip on the block/bolster and extend your right leg behind you. Make sure your hips are evenly supported on both sides, then fold your torso forward with the option of resting it to the mat or, if using the block under the hips, onto a bolster.

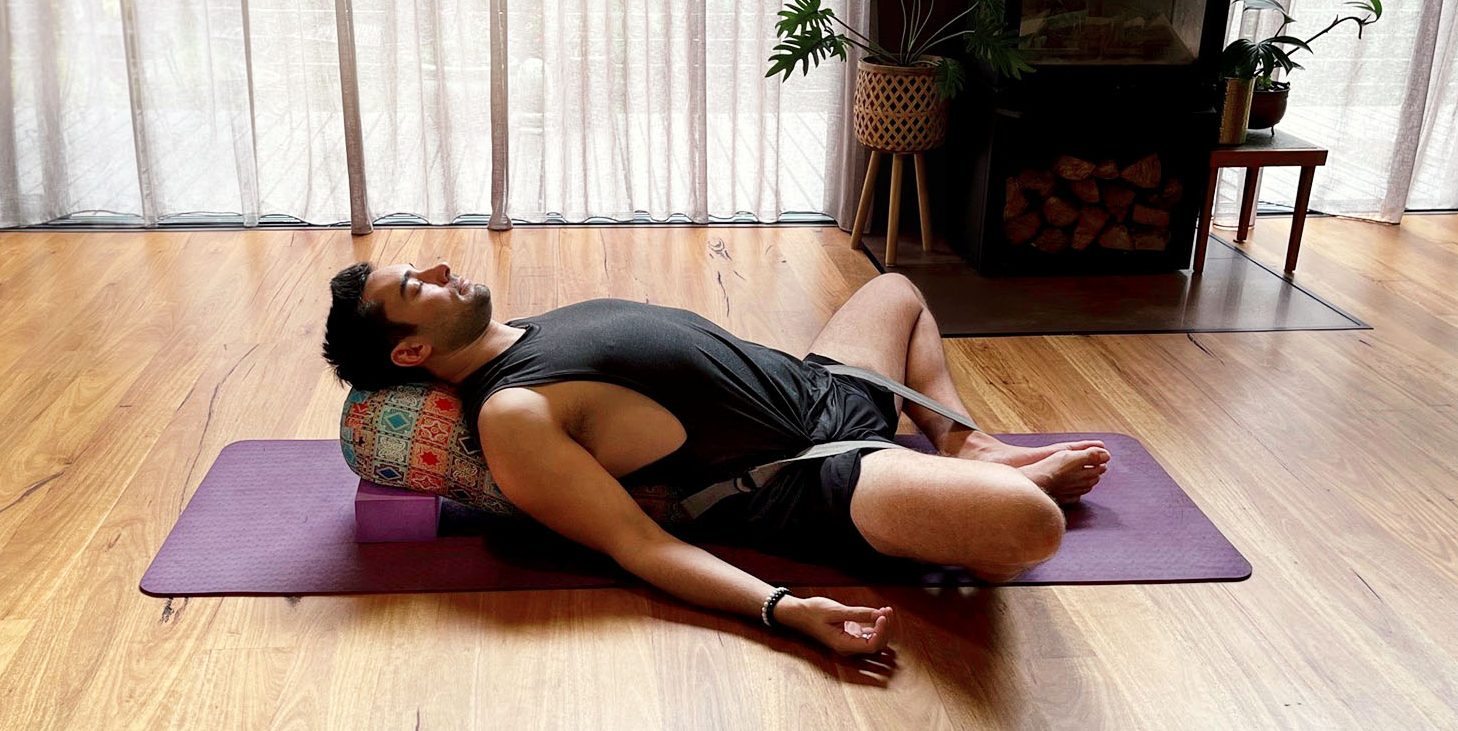
Step 1
Place a bolster vertically a few inches behind you and sit in front of it with your knees bent. Option to place a block under the bolster to rest the torso at an incline.
Step 2
Bend your knees to the sides and join the soles of your feet together. Loop your strap and slide it down around your lower back. Position the loop over your toes and underneath your feet. The sides of the strap will rest on the inner edges of thighs. Draw your feet closer to you and tighten the strap to keep your legs close to your torso.
Step 3
Lay back over the bolster and rest your head. You can add an extra folded towel here to help support your head further. Slide your buttocks toward your feet to lengthen through the lower back. If the lower back is feeling compressed you may need to slide a bit more off the bolster toward your feet.


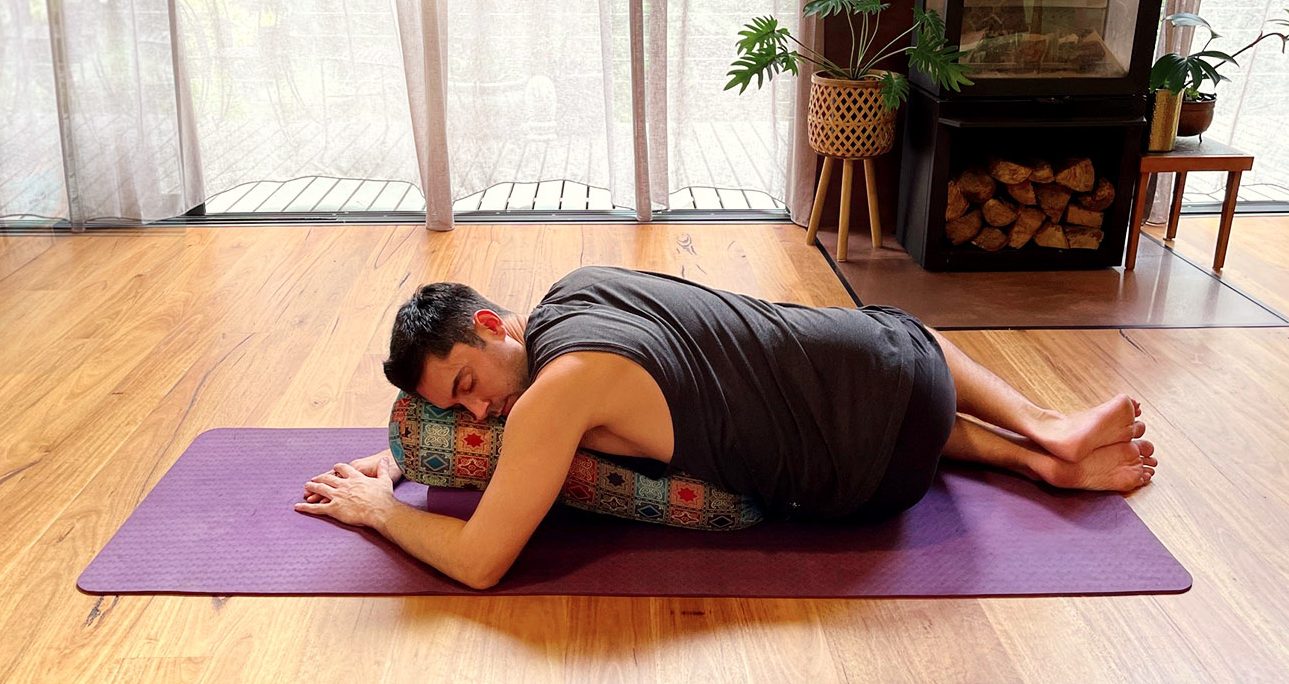
Step 1
Rest a bolster lengthways on your mat.
Step 2
Position your legs at the end of the bolster, but resting on the mat.
Step 3
Slowly fold forward, relaxing your torso onto the bolster.
Step 4
Lay your arms out in front of you, resting gently against the floor.
Step 5
Turn your head to one side with your cheek resting on the bolster. Alternate each side to relieve any stiffness in the neck.

Step 1
Place a bolster lengthways on your mat (optional Place block underneath for an incline)
Step 2
Rest the left hip next to the bolster, knees bent.
Step 3
Turn your belly toward the bolster and lower yourself down.
Step 4
Either face your head toward your knees, or deepen the twist by facing away from them.
Pop in-store at Nurcha to check out their great range of yoga gear.